Last few days our clients had problems with Apps that used GCM credentials to send push notifications to Android devices. This was caused by the fact that Google recently released improved version of GCM API under the Firebase brand - FCM (Firebase Cloud Messaging).
Although Google says that they will continue to support the current version of GCM Android and iOS SDKs, they highly recommend everyone to upgrade to FCM in order to benefit from new FCM features today and in the future.
To start using FCM you need your new credentials from the Firebase dashboard. But before we continue with our step-by-step guide on how to do that, let's review some of the most frequently asked questions about GCM and FCM we've received recently.
Q: Is GCM now depreciated? Are they going to stop all services & support of GCM?
Yes, some features of GCM are already depreciated and now in the coming days GCM is going to be fully depreciated.
Google says "We will continue to support the current version of GCM Android and iOS SDKs because we know a lot of developers are using GCM SDKs today to handle notifications, and client app upgrade takes time.
But all new client-side features will be added to FCM SDKs only moving forward. You are strongly encouraged to upgrade to FCM SDKs"
Q: Why we need to migrate from GCM to FCM
FCM (Firebase Cloud Messaging) is an improved version of the GCM (Google Cloud Messaging) API under the Firebase brand. It inherits GCM’s core infrastructure, with new SDKs to make Cloud Messaging development easier.
Even more if you have some problems with Android Push Notifications on our Parse Server in SashiDo we suggest you to migrate to FCM.
Q: Can I update my old applications from GCM to FCM
Yes!
You can import your GCM project as a Firebase project following few easy steps and the best part is that you will keep your Sender ID.
Start using FCM - step-by-step guide
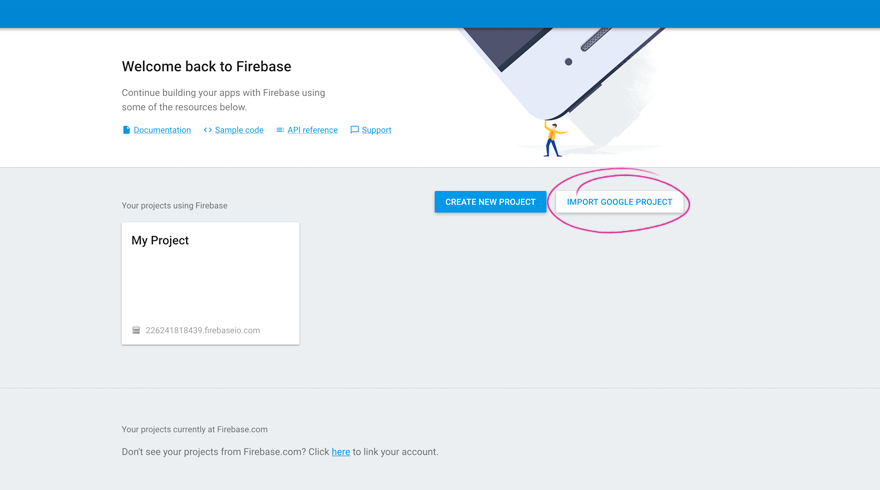
1. Open the Firebase console and select Import Google Project.
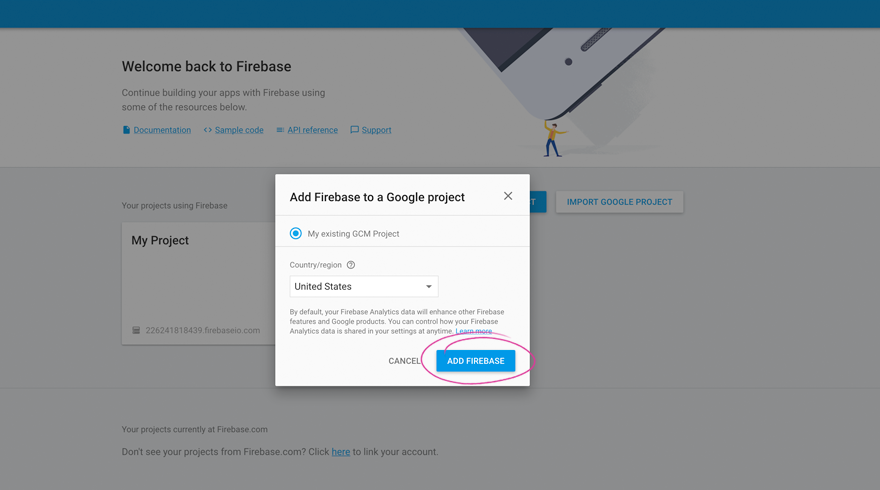
2. Select your GCM project from the list of existing projects and click on Add Firebase.
3. In the Firebase welcome screen, select Project Settings.

4. Select the tab called "Cloud Messaging" and get your "Sender ID" and "Server Key".

5. Go to SashiDo's Dashboard and set up your "Sender ID" and "Server Key" in your App Settings -> Push in section Android Push Credentials.
6. Now you can test your app Push Notifications

Finally, check if your application has received the test push notification. If you experience some difficulties, don't hesitate to contact our support team!
Happy Sending :)